Showing posts with label projects. Show all posts

Sunday, September 9, 2012

Manufacturing Video for Kids

One of the side projects I've done recently is a video about manufacturing for kids, targeted at the elementary school grades. This is part of a project that World's Best School is doing all over the institute, trying to help develop better teaching materials for school teachers in their classrooms. There are many video courses available over the internet, but making videos for science and math sometimes requires access to laboratories and equipment - which many video-makers may not have. However, World's Best School is full of young, energetic, highly intelligent students with access to sophisticated equipment and enough spare time that offering a bit of money provides a strong incentive to work on such things...

One of the topics that the program's coordinators specifically asked for was manufacturing. So two others and I (we all work in the Lab for Manufacturing) banded together and came up with three video concepts. We helped each other with script revisions and filming, and then each took responsibility for editing and submitting one of the three.

Mine is here, for your enjoyment.


It was surprisingly hard to get concepts down to the average 2nd or 3rd grade level, since I'm used to working at grad school level. I tried to do it without sounding condescending or overly simplified. Plus it's my first try at making a video in iMovie, so it was definitely a learning curve. If they need more videos in the future, I have lots more ideas, and next time around I'm sure I'll be much better at it!


Monday, July 23, 2012

Artists Are Funny People

In my career thus far, I can unequivocally say that I know how to deal with engineers. I have also spent a good part of the last few years learning how to deal with business people, and with entrepreneurs - I wouldn't say I'm an expert, but I'm trying to learn how to relate.

Artists are a set of folks I have no clue how to deal with. Graphic arts, UX/UI designers, web developers, fine arts - they have their own language and I don't speak it.

My mother is a photographer, but bless her heart she has been surrounded by engineers for so long, she has an honorary engineer communication degree!

One of the students here at World's Best School has been posting a set of photographs on Facebook to commemorate his time here (he just graduated undergrad). I am not usually particularly affected by photos, particularly of the quality you normally find on Facebook, but these were just stunning. Not only are they technically gorgeous (and thanks Mom for the fact that I can recognize that!), but they actually evoke emotions for me - community, joy, loneliness, pride. Not an easy feat to make an engineer feel emotions, from a piece of art at that... When I leave World's Best School, these photos capture how I want to remember it.

So I wrote him a note, told him how much I appreciated his work, and asked if he'd be willing to sell the set.

He wrote back - and this is where I just don't get artists - and said that yes, he would be willing to send me the high-res versions of the set. And he said yes, his work is copyrighted, and he sells them for a fee, but he doesn't want to set a price for this set because it is very special to him. But a "gift/donation would be much appreciated. Let me know."

So.... you'll give them to me, you don't want to set a price to sell them, but your copyrighted stuff is only available for a fee... so please donate?

I think perhaps nobody has ever offered to buy his photographs (he is an undergrad student in the sciences, after all, this is his hobby). So maybe he's afraid to set a price because he has no idea what a ballpark would be? Hate to either low-ball yourself, or set something outrageously high, right?

Sigh.

Whatever the reasoning, I'll take a stab at a reasonable number for a gift, and I'm just happy I'll be able to have copies to enjoy. I'm already thinking of ways to display them... can't just hang them in frames, come on now, I'm an engineer commemorating her grad school... that calls for building something special!

This is as close as I'll probably ever get to commissioning a piece of artwork.

Monday, June 25, 2012

Organization

I have been feeling all sorts of disorganized lately, and so this past weekend I tried to get myself in order, including doing a computer backup and sorting through old photos.

And what did I come across while looking through old photos, but a few shots of my (sadly now irrelevant since I've moved) neat and tidy storage solutions. I remember being as pleased as punch when I took these shots, because I loved having things in little cups and caddies and all correctly in their proper homes. Feeds my logical, orderly mind...

Bookshelf. Why yes, that is over a half a shelf of Star Trek books...

Scarves and mittens. Boston has a long winter, I like lots of options.

Desk drawer. Rubberbands! Paperclips! In tiny cups!

Makeup drawer. Interlocking caddies in mix-and-match sizes!

Hair stuff. Now if I actually took the time to DO my hair once in a while...
And my personal favorite:

Earrings. I made this earring holder myself from cherry wood, because I dislike the metal mesh ones, and no other solution had *ahem* quite enough hooks for my collection...


Sunday, October 30, 2011

Rooftop Garden

In the summer of 2010, another RA and I started a garden on the rooftop of our dorm. The rooftop deck has over 80 planter boxes lining the edges - and in twenty years, nobody has used them. Such a shame! That summer, we only planted herbs, and we only planted the 20 boxes along the front row.

THIS summer, the plan was expansion. We decided to get into vegetables, and we planted almost all of the 80 planters with a combination of herbs and vegetables. Because the planter boxes had not been used in 20 years, they required some work to bring them into useable shape. Many thanks to my brother and my boyfriend, who helped me and the other RA during the gardening work day at the beginning of the summer!

I do really like plants, so this project was a lot of fun. It was lovely over the summer (made it a nice place to have people over), and it produced all the way up until a couple weeks ago when we cleaned it out for the winter. I thought I would share some photos from the height of the season (late August). First of all - don't I have a gorgeous view?

Figure: Come on, let me have one photo to gloat over the Boston skyline.,,

As an overview, the front row we planted with herbs (chairs convenient for enjoying tea and a book):


Right hand side with vegetables:


Left hand side with vegetables:


And the back row we didn't quite finish planting, but it was squashes and more greens:


And then some close up shots of the things we grew:

Chamomile (I wonder if just the flowers are for tea, or the whole plant?)

Sage
Chives 
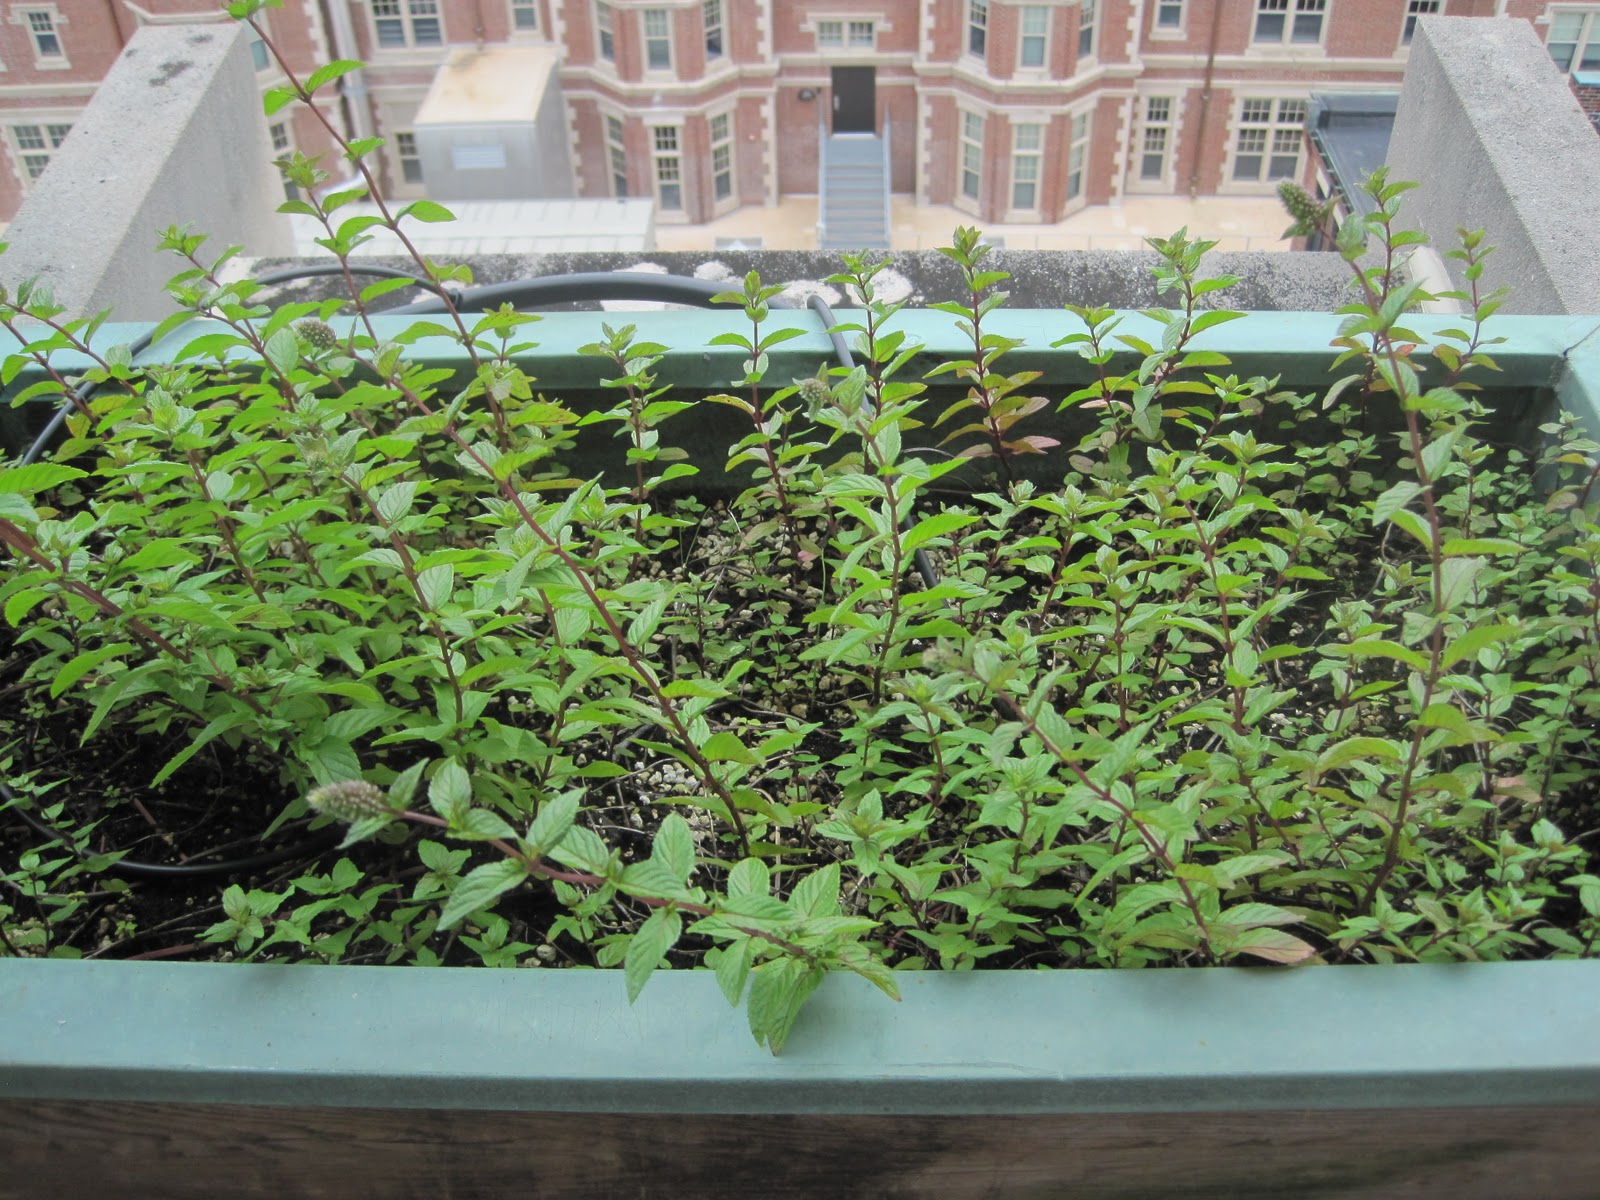
Chocolate mint
Carrots! The fuzziness!
Rosemary
Onions
Fennel
Radishes
Kale
Sorrell. I didn't even know what that was before this summer.
What happens when lettuce bolts... :)
Cucumbers!
They are all hiding...
Ooh - this one's ready for picking!

Kohlrabi
Squash! Striped!

Peppers. Unfortunately these took longer to grow, and I don't have a shot of the pretty red and purple peppers we eventually got.
More peppers - sweet bell variety, instead of hot ones.
Flop! Every experiment is gonna have a few failures... in our case, strawberries were a no-go.
Beets
Eggplant. The flowers were a really lovely purple, and then when I took these photos, the very first tiny eggplants were just starting to grow.


Parsely
Cabbage
Mexican marigold - a.k.a. tarragon
Spearmint
What happen when you let weeds take over one box, then decide they are pretty and let them stay...
Thyme
Peppermint

We thought about growing flowers as well, but that didn't make it very far into the plan this year (only two boxes). It'll be in the future work section - every good project needs room for growth (*snicker*)!


The whole project has been a great learning experience - cilantro is too hard to keep from bolting, basil is finnicky, strawberries don't grow at all, and vegetables in the squash family need to be planted close enough together to provide shade under the leaves. We learned it's not worth bothering to start the plants inside - best just to toss the seeds straight in the box! If they are not hardy enough to grow outside, we probably don't want them anyway...

The other RA and I ended up generating quite a bit of interest with this project, which I certainly hadn't expected. One group asked us how to replicate the garden at their school, we were featured in an article in the World's Best School weekly newsletter, and we attracted some notice from other dorms and community local food groups. Nothing we did was all that revolutionary, but as long as the girls in our dorm enjoy it, we consider it a success!

And as a final note, I will just say that it is incredibly satisfying to take a salad spinner up to the roof, spend a few minutes walking around with scissors, and come back down to your room with a salad for dinner. It's been a great year, and I'll hang on to the anticipation of next summer all through this long Boston winter...

Tuesday, October 25, 2011

Before and After Slide Design

I do like designing things. It appeals to my creative side, and keeps whatever artsy inclinations I have from completely withering away... In fact, I try my hand at designing shirts, posters, and the occasional logo.

Today somebody asked me to send them a process schematic for a particular project I am working on. The details really aren't important, but what IS important is that while trying to locate a schematic - ANY schematic, I realized I didn't have a nice diagram of what's going on. The closest I could find was a slide buried in the backup section of a PowerPoint presentation I had given.

Figure: And in my defense, this wasn't even a slide that I originally made - it was a teammate's.

I decided that this was unacceptable, and I couldn't bear to send out something quite that unprofessional. And so in the 15 minutes I had before a conference call, I rearranged the slide.


It's still not great, but at least less cluttered, and perhaps a little clearer. It made me feel better to at least take a stab at it. Good figures are important.

What do you think - I know it's hard without understanding the context, but at first blush was this an improvement? Or no better?

Wednesday, September 7, 2011

Name Cards Pt. II

The goal of this particular project (because every project should start with a goal): to make balsa wood name cards, for my dorm residents to hang on their doors.

The process:

First, design name cards. I used Adobe Illustrator, because I am familiar with it, and it makes nice vector graphics that port well to the laser cutter. The nice thing about laser cutting wood, is that gradations in tone and pattern will show up as gradations in the engraving on the wood. As an example, a gentle three-tone design like this:


Will show up on wood like this:

Maybe it's a little hard to see, but the light gray parts are a lighter shade of brown on the wood. This also works with color, and works better the more differentiation you have. So also note this color design:


Which turns out like this, where you can more clearly see the range of tones:


Second, cut strips of balsa wood.


Figure: Actually a wafer-dicing scalpel, but we can repurpose.

Mistakes are common. Even with a straight edge.

Figure: What good project doesn't end up with an extra screw, or spare scraps of stock?

Third, prepare the workspace. I had my laptop for designing and changes, the desktop compute that runs the laser cutter, and then the laser cutter with attached vacuum pump.

Figure: Where the magic happens.

Of course there is an oscilloscope in the background. You never know when that might come in handy, for any project. Duck tape, oscilloscope, calipers and coffee should be mandatory at the beginning of every endeavor.

Figure: Note old-school oscilloscope behind computer, on standby like an ambulance at a football game.

Fourth, test the settings of the laser cutter. You have two main variables to adjust - power and speed. The variables are interconnected, as common sense tells you that a high power and fast speed can give you the same results as low power and slow speed - it's all about the amount of energy the laser imparts to the wood. But given a choice between two equivalent power/speed combinations, you might like to minimize the total processing time needed.


In the top example, the speed was too fast, so the whole thing turned out too light - the complete depth of tones was not achieved, and there are no truly dark areas. Bottom example is what I settled on.

Finally, laser cut away!

Figure: Magic is underway.

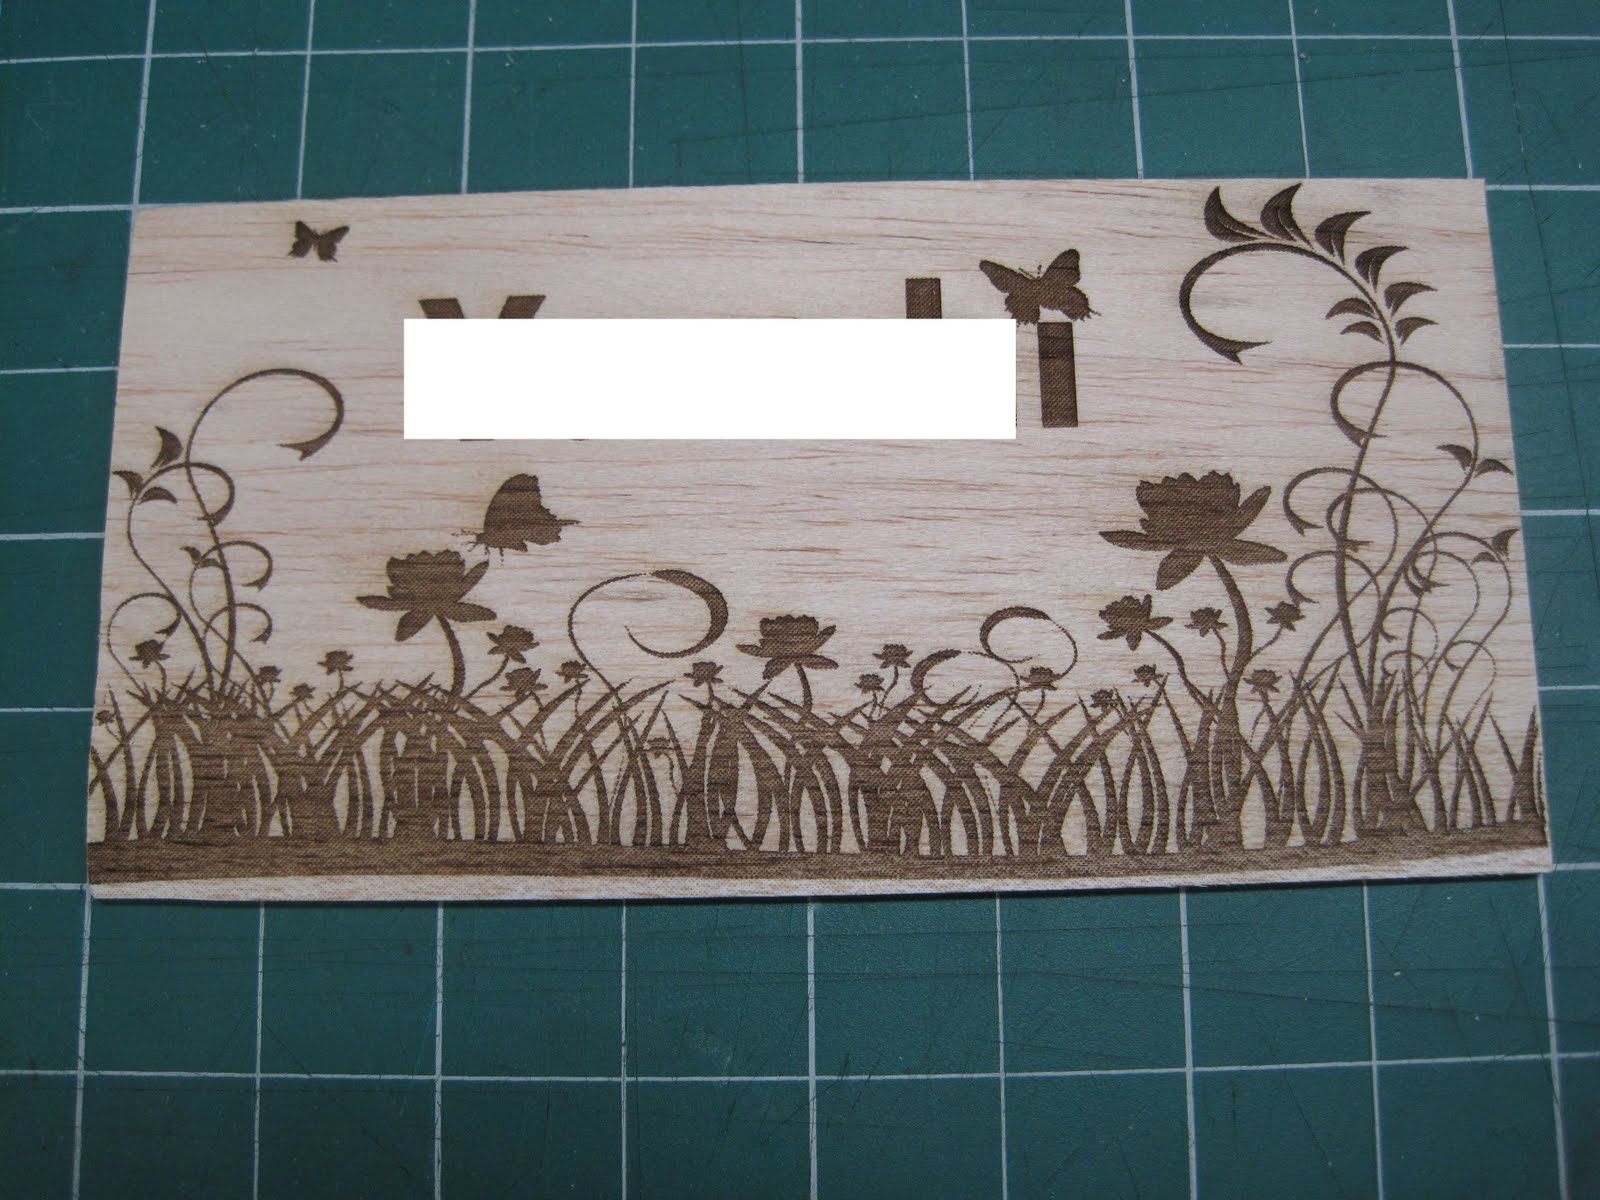
The finished stack of 26 name cards took me two afternoons to complete, but I am so pleased with how they turned out.

Figure: Success!
In conclusion, here are the finished projects, names blacked out (to protect the innocent, or for security, or for privacy, or something....).


Any favorites, readers?