Showing posts with label RA. Show all posts

Sunday, October 30, 2011

Rooftop Garden

In the summer of 2010, another RA and I started a garden on the rooftop of our dorm. The rooftop deck has over 80 planter boxes lining the edges - and in twenty years, nobody has used them. Such a shame! That summer, we only planted herbs, and we only planted the 20 boxes along the front row.

THIS summer, the plan was expansion. We decided to get into vegetables, and we planted almost all of the 80 planters with a combination of herbs and vegetables. Because the planter boxes had not been used in 20 years, they required some work to bring them into useable shape. Many thanks to my brother and my boyfriend, who helped me and the other RA during the gardening work day at the beginning of the summer!

I do really like plants, so this project was a lot of fun. It was lovely over the summer (made it a nice place to have people over), and it produced all the way up until a couple weeks ago when we cleaned it out for the winter. I thought I would share some photos from the height of the season (late August). First of all - don't I have a gorgeous view?

Figure: Come on, let me have one photo to gloat over the Boston skyline.,,

As an overview, the front row we planted with herbs (chairs convenient for enjoying tea and a book):


Right hand side with vegetables:


Left hand side with vegetables:


And the back row we didn't quite finish planting, but it was squashes and more greens:


And then some close up shots of the things we grew:

Chamomile (I wonder if just the flowers are for tea, or the whole plant?)

Sage
Chives 
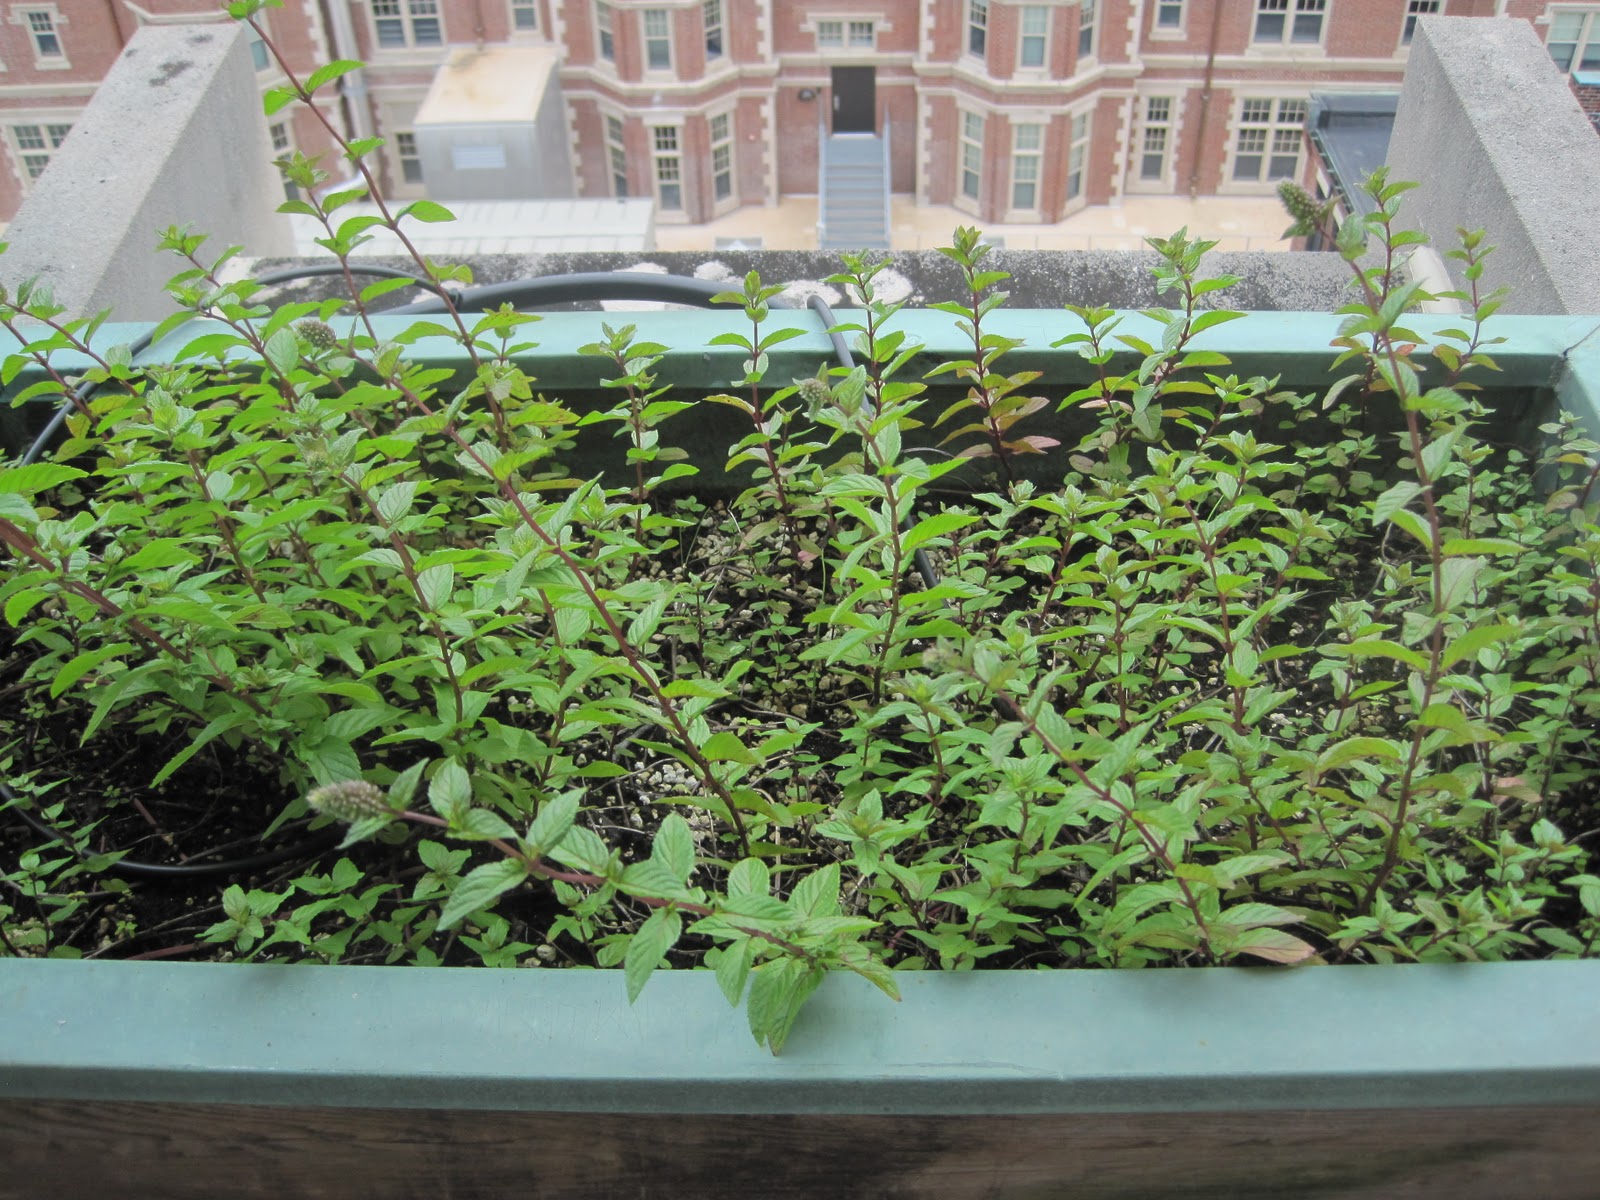
Chocolate mint
Carrots! The fuzziness!
Rosemary
Onions
Fennel
Radishes
Kale
Sorrell. I didn't even know what that was before this summer.
What happens when lettuce bolts... :)
Cucumbers!
They are all hiding...
Ooh - this one's ready for picking!

Kohlrabi
Squash! Striped!

Peppers. Unfortunately these took longer to grow, and I don't have a shot of the pretty red and purple peppers we eventually got.
More peppers - sweet bell variety, instead of hot ones.
Flop! Every experiment is gonna have a few failures... in our case, strawberries were a no-go.
Beets
Eggplant. The flowers were a really lovely purple, and then when I took these photos, the very first tiny eggplants were just starting to grow.


Parsely
Cabbage
Mexican marigold - a.k.a. tarragon
Spearmint
What happen when you let weeds take over one box, then decide they are pretty and let them stay...
Thyme
Peppermint

We thought about growing flowers as well, but that didn't make it very far into the plan this year (only two boxes). It'll be in the future work section - every good project needs room for growth (*snicker*)!


The whole project has been a great learning experience - cilantro is too hard to keep from bolting, basil is finnicky, strawberries don't grow at all, and vegetables in the squash family need to be planted close enough together to provide shade under the leaves. We learned it's not worth bothering to start the plants inside - best just to toss the seeds straight in the box! If they are not hardy enough to grow outside, we probably don't want them anyway...

The other RA and I ended up generating quite a bit of interest with this project, which I certainly hadn't expected. One group asked us how to replicate the garden at their school, we were featured in an article in the World's Best School weekly newsletter, and we attracted some notice from other dorms and community local food groups. Nothing we did was all that revolutionary, but as long as the girls in our dorm enjoy it, we consider it a success!

And as a final note, I will just say that it is incredibly satisfying to take a salad spinner up to the roof, spend a few minutes walking around with scissors, and come back down to your room with a salad for dinner. It's been a great year, and I'll hang on to the anticipation of next summer all through this long Boston winter...

Wednesday, September 7, 2011

Name Cards Pt. II

The goal of this particular project (because every project should start with a goal): to make balsa wood name cards, for my dorm residents to hang on their doors.

The process:

First, design name cards. I used Adobe Illustrator, because I am familiar with it, and it makes nice vector graphics that port well to the laser cutter. The nice thing about laser cutting wood, is that gradations in tone and pattern will show up as gradations in the engraving on the wood. As an example, a gentle three-tone design like this:


Will show up on wood like this:

Maybe it's a little hard to see, but the light gray parts are a lighter shade of brown on the wood. This also works with color, and works better the more differentiation you have. So also note this color design:


Which turns out like this, where you can more clearly see the range of tones:


Second, cut strips of balsa wood.


Figure: Actually a wafer-dicing scalpel, but we can repurpose.

Mistakes are common. Even with a straight edge.

Figure: What good project doesn't end up with an extra screw, or spare scraps of stock?

Third, prepare the workspace. I had my laptop for designing and changes, the desktop compute that runs the laser cutter, and then the laser cutter with attached vacuum pump.

Figure: Where the magic happens.

Of course there is an oscilloscope in the background. You never know when that might come in handy, for any project. Duck tape, oscilloscope, calipers and coffee should be mandatory at the beginning of every endeavor.

Figure: Note old-school oscilloscope behind computer, on standby like an ambulance at a football game.

Fourth, test the settings of the laser cutter. You have two main variables to adjust - power and speed. The variables are interconnected, as common sense tells you that a high power and fast speed can give you the same results as low power and slow speed - it's all about the amount of energy the laser imparts to the wood. But given a choice between two equivalent power/speed combinations, you might like to minimize the total processing time needed.


In the top example, the speed was too fast, so the whole thing turned out too light - the complete depth of tones was not achieved, and there are no truly dark areas. Bottom example is what I settled on.

Finally, laser cut away!

Figure: Magic is underway.

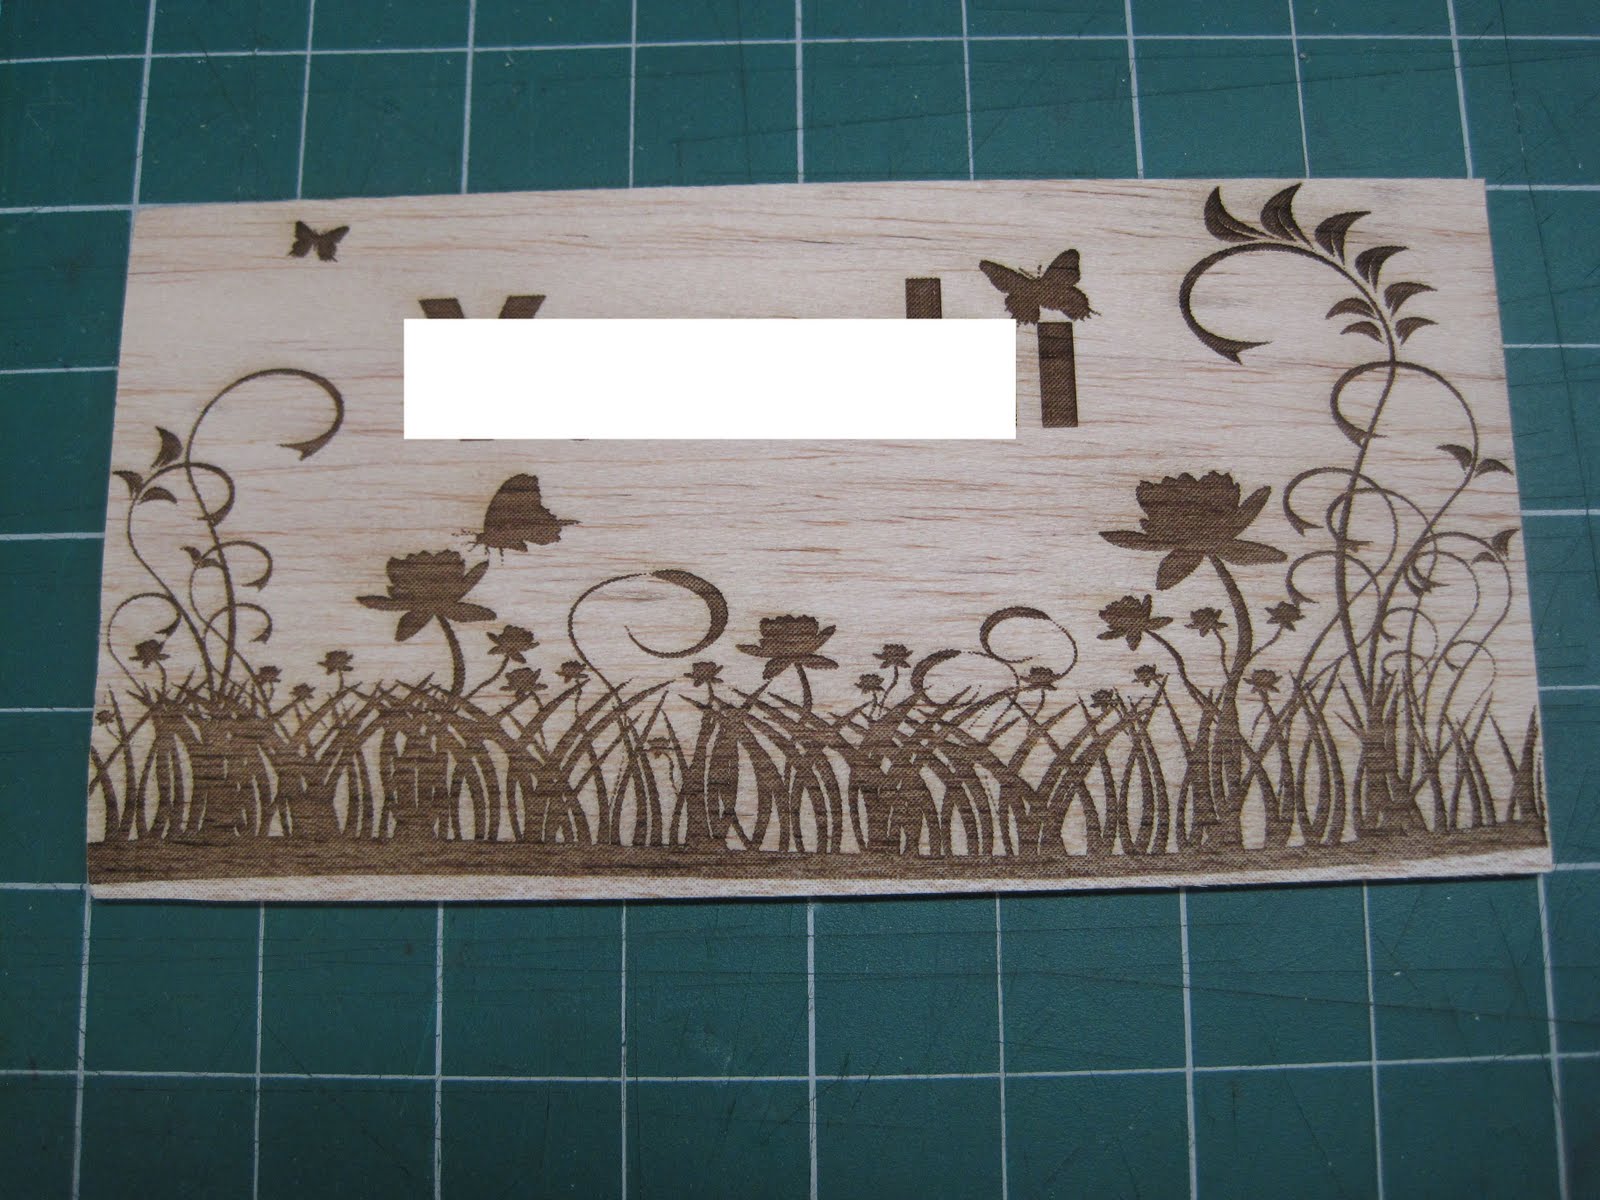
The finished stack of 26 name cards took me two afternoons to complete, but I am so pleased with how they turned out.

Figure: Success!
In conclusion, here are the finished projects, names blacked out (to protect the innocent, or for security, or for privacy, or something....).


Any favorites, readers?