The process:
First, design name cards. I used Adobe Illustrator, because I am familiar with it, and it makes nice vector graphics that port well to the laser cutter. The nice thing about laser cutting wood, is that gradations in tone and pattern will show up as gradations in the engraving on the wood. As an example, a gentle three-tone design like this:


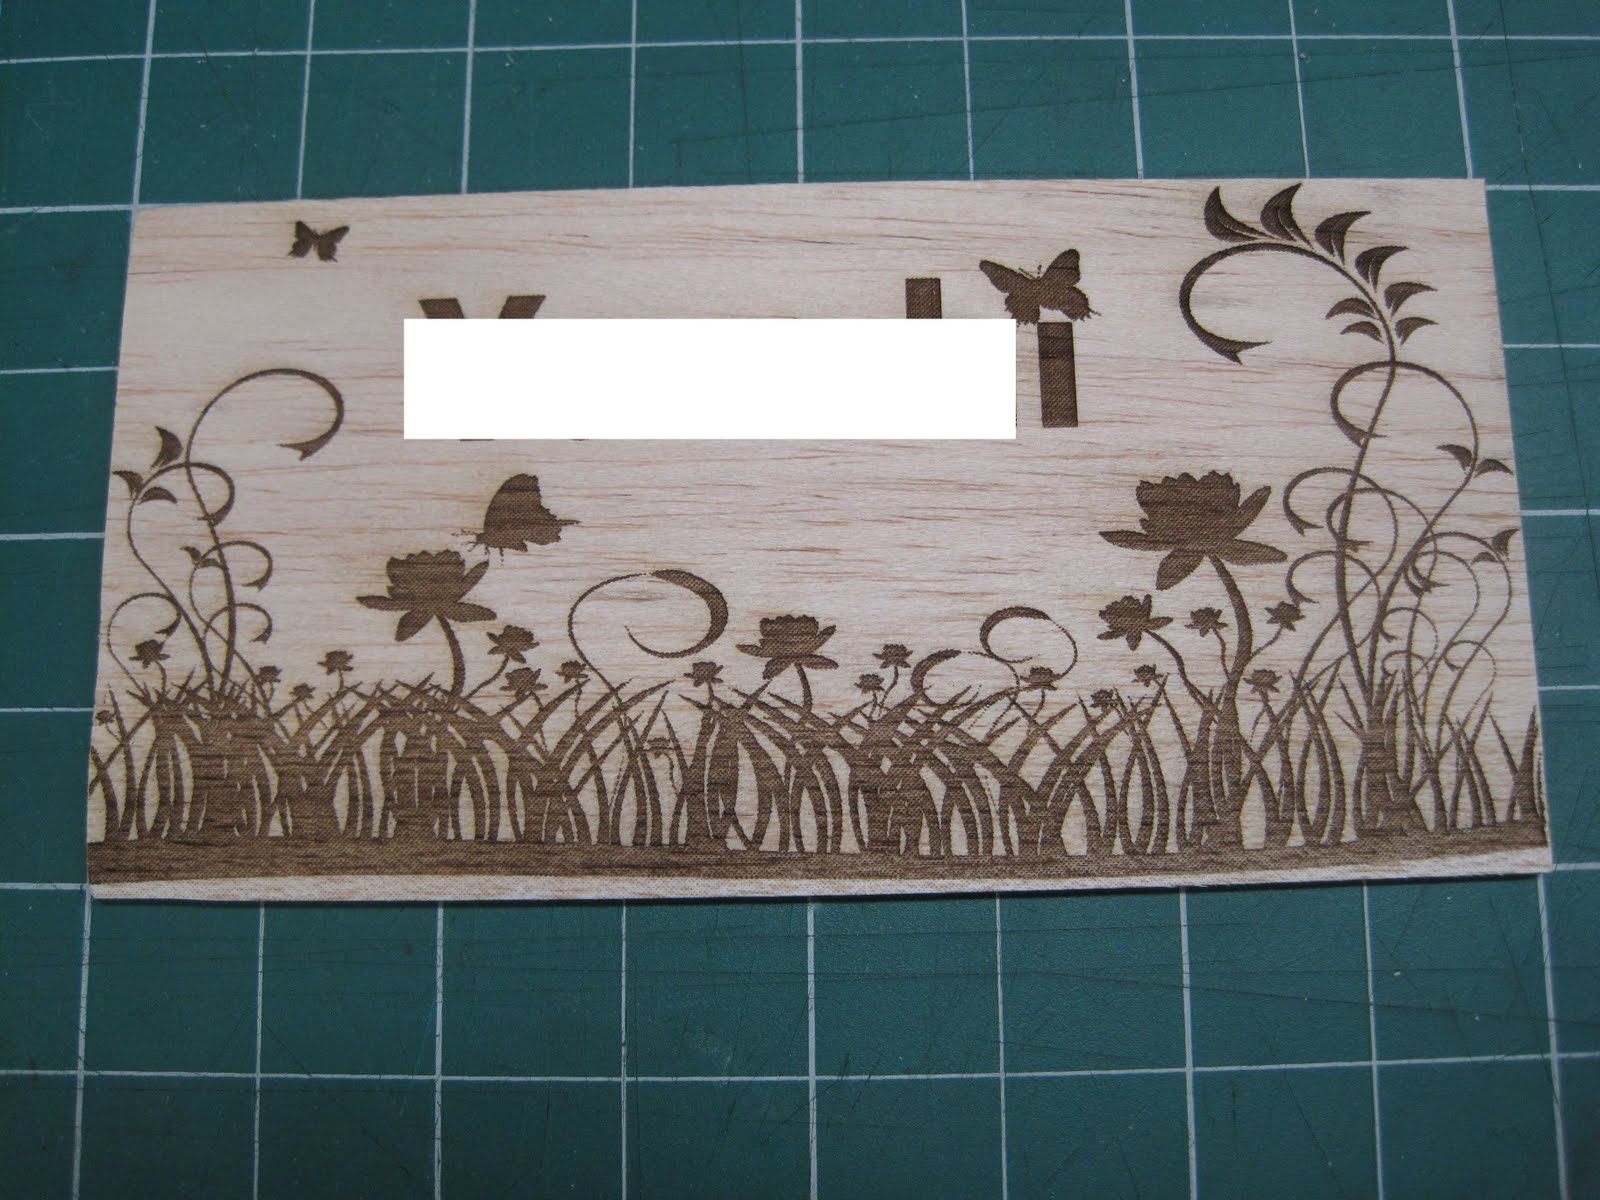
Which turns out like this, where you can more clearly see the range of tones:

Second, cut strips of balsa wood.
 |
| Figure: Actually a wafer-dicing scalpel, but we can repurpose. |
Mistakes are common. Even with a straight edge.
 |
| Figure: What good project doesn't end up with an extra screw, or spare scraps of stock? |
Third, prepare the workspace. I had my laptop for designing and changes, the desktop compute that runs the laser cutter, and then the laser cutter with attached vacuum pump.
 |
| Figure: Where the magic happens. |
Of course there is an oscilloscope in the background. You never know when that might come in handy, for any project. Duck tape, oscilloscope, calipers and coffee should be mandatory at the beginning of every endeavor.
 |
| Figure: Note old-school oscilloscope behind computer, on standby like an ambulance at a football game. |
Fourth, test the settings of the laser cutter. You have two main variables to adjust - power and speed. The variables are interconnected, as common sense tells you that a high power and fast speed can give you the same results as low power and slow speed - it's all about the amount of energy the laser imparts to the wood. But given a choice between two equivalent power/speed combinations, you might like to minimize the total processing time needed.

In the top example, the speed was too fast, so the whole thing turned out too light - the complete depth of tones was not achieved, and there are no truly dark areas. Bottom example is what I settled on.
Finally, laser cut away!
 |
| Figure: Magic is underway. |
 |
| Figure: Success! |


Any favorites, readers?
After all that hard work, did you end up making one for yourself? :)
ReplyDeleteThey are all very nice! I think I like the first one the best though. It has good graphical balance.
ReplyDelete